There nothing like making a fresh batch of gingerbread cookies to celebrate the holidays! This was my first time ever attempting them, so I was a bit nervous. Martha's recipe was pretty involved and I wasn't sure if I could execute it properly. But there's a first time for everything, right? Plus, it helped that I recently acquired these:


Super cute snowflake cookie cutters from Williams-Sonoma! I love that the set came with two small cookie cutters: a diamond and a heart. You can use them to create patterns in your snowflake cookies! How cool is that??
(1) The Gingerbread Cookies

Combine the dry ingredients, including all the yummy Christmas spices like nutmeg, ginger, cinnamon, and cloves! The kitchen smelled delicious already! =)

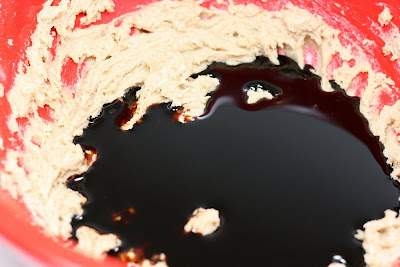
Add the molasses. Kinda eerie looking!

Mix well with eggs.

Gradually add the flour mixture, beating until just combined.


Mix well with eggs.

Gradually add the flour mixture, beating until just combined.

Divide dough into thirds, flatten into a disk. Wrap well and refrigerate until firm, for at least 1 hour.

Ok, here's where it gets a bit complicated, and possibly messy. You roll out the chilled dough on parchment paper, but before you begin cutting out your cookies, you must first let it sit in the freezer for about 15 minutes. I did this, but apparently took it out of the freezer too early, because my dough totally fell apart and was really sticky when I went to go cut them. Then, I had to re-roll and re-freeze, which is a pain. So make sure the dough is ready to go before you attempt to cut them! The dough should be hard-ish, but not completely frozen when you take it out of the freezer. And make sure to liberally flour your work surface.

Once I got the dough "frozen" just right, the cookies cut out of the dough really easily. And I was able to pick it up with my fingers without it being sticky. It didn't even bend out of shape while being transferred to the cookie sheet!


Ok, the small cookies were a success! Once I got the hang of it, I decided to move on to more "complicated" cookie designs. I used the little heart and diamond cutters to create intricate snowflake designs! So pretty!

Once they're on the cookie sheet and ready to go, freeze them again for 15 minutes before baking. Bake at 350 degrees for 8 to 10 minutes. You gotta watch them! They bake up really quickly. I accidentally burned a batch!

Use your favorite royal icing recipe for these cookies. I don't follow a recipe to make mine. I simply dump a ton of powdered sugar into a bowl with a teaspoon of vanilla extract. Then, I slowly add heavy cream to the mixture until it reaches the right consistency- something thick that will allow for piping. Add your icing to a ziplock bag or a piping bag and decorate elaborately!

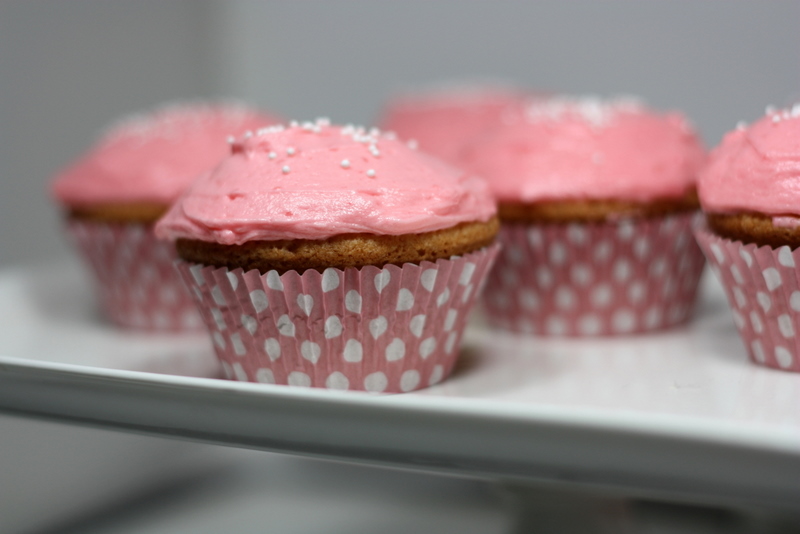
These small ones are going on top of some holiday themed cupcakes! Be sure to come back next week to check them out! (Sooooo cute and delicious, I promise!)

My friend, Kelly came over to help me decorate the rest of them! She's super artistic and did a fabulous job! She's been off at med school in Chicago, and only came home briefly to visit. So this was a fun project for us to do while catching up!
These cookies were soooo delicious! I couldn't stop eating them! They weren't like the usual gingerbread cookies that are rock hard and hurt your teeth. They were crispy on the edges and soft on the inside. I was surprised that they were still pretty soft, after being in an airtight container in the fridge for 3 days!
Give these a try, they'll make your entire kitchen smell like Christmas. =) And it really wasn't that difficult. It's actually pretty fun, once you get the hang of it!

Ok, here's where it gets a bit complicated, and possibly messy. You roll out the chilled dough on parchment paper, but before you begin cutting out your cookies, you must first let it sit in the freezer for about 15 minutes. I did this, but apparently took it out of the freezer too early, because my dough totally fell apart and was really sticky when I went to go cut them. Then, I had to re-roll and re-freeze, which is a pain. So make sure the dough is ready to go before you attempt to cut them! The dough should be hard-ish, but not completely frozen when you take it out of the freezer. And make sure to liberally flour your work surface.

Once I got the dough "frozen" just right, the cookies cut out of the dough really easily. And I was able to pick it up with my fingers without it being sticky. It didn't even bend out of shape while being transferred to the cookie sheet!


Ok, the small cookies were a success! Once I got the hang of it, I decided to move on to more "complicated" cookie designs. I used the little heart and diamond cutters to create intricate snowflake designs! So pretty!

Once they're on the cookie sheet and ready to go, freeze them again for 15 minutes before baking. Bake at 350 degrees for 8 to 10 minutes. You gotta watch them! They bake up really quickly. I accidentally burned a batch!
(2) Make the Icing and Decorate!

Use your favorite royal icing recipe for these cookies. I don't follow a recipe to make mine. I simply dump a ton of powdered sugar into a bowl with a teaspoon of vanilla extract. Then, I slowly add heavy cream to the mixture until it reaches the right consistency- something thick that will allow for piping. Add your icing to a ziplock bag or a piping bag and decorate elaborately!

These small ones are going on top of some holiday themed cupcakes! Be sure to come back next week to check them out! (Sooooo cute and delicious, I promise!)

My friend, Kelly came over to help me decorate the rest of them! She's super artistic and did a fabulous job! She's been off at med school in Chicago, and only came home briefly to visit. So this was a fun project for us to do while catching up!
These cookies were soooo delicious! I couldn't stop eating them! They weren't like the usual gingerbread cookies that are rock hard and hurt your teeth. They were crispy on the edges and soft on the inside. I was surprised that they were still pretty soft, after being in an airtight container in the fridge for 3 days!
Give these a try, they'll make your entire kitchen smell like Christmas. =) And it really wasn't that difficult. It's actually pretty fun, once you get the hang of it!


They look so lovely! X'mas is in the air!
ReplyDeleteOh, they are just beautiful. You did a wonderful job. I'm sad to say I'm having some major cookie cutter envy here!!
ReplyDeleteThese cookies look unbelievably tasty and pretty! Great job, Judy :). I have trouble with soft cookie doughs all the time, so your tip is really helpful. Love that you make your frosting by feel too. Not gonna lie, totally covet those cutters!
ReplyDeleteYou lucky duck... I've been looking all over town for a set of snowflake cutters - couldn't find them anywhere so I had to settle for a set star shapes :(.
ReplyDeleteYour cookies turned out really beautifully. How nice that you were able to spend time with a good friend while working on this project.
I'll have to give this recipe a try. I've been using a different Martha gingerbread recipe for years, but a change might be nice.
Merry Christmas!
:)
ButterYum
just stunning, so sweet looking - yum
ReplyDeleteJudy, what a wonderful set of cookies. I got that same set last year at WS - but have yet to use it. This gives me hope! These looks fantastic - and Martha's recipe is great, I love the addition of pepper - that's what "makes it"! At least that's the MS recipe I use, forgot which book! Very festive and beautiful!
ReplyDeleteThese are so pretty!
ReplyDeleteso cute!and i think they were yunny too!
ReplyDelete"yummy", sorry:)))
ReplyDeleteawww! thanks for the awesome words of encouragement, everyone!! totally makes my day! =)
ReplyDeleteThank you for this post. I actually just purchased the same cookie cutter set and was searching for a recipe that would hold the shapes well and didn't end up rock hard. I'll be making these in a few days!
ReplyDelete